How to remove your old kitchen so it’s ready to put in your skip
13th Jul, 2018
After all the planning, the discussions and the financial tallies, you’re finally ready to get your new kitchen installed. Before you do that, though, you’ve got to take out the old one! It can be quite a daunting task, especially if you’ve never done it before – but don’t worry, we’re here to help. Hiring a skip for home renovations is obviously a key part of the process – so it makes sense for us to start there!
What size skip do I need for removing my kitchen?
In general, a skip that’s between 4 and 8 yards in capacity is the one that’s most ideal for this sort of clearance. These are the skip sizes that are most popular amongst homeowners for domestic refits and clearance, so you’ll mostly find that 8 yards is the maximum you need to go. If you want to be on the extra-safe side you can order the next size up (14 yards) if you really wish, but we wouldn’t say it was absolutely necessary. A maximum of an 8 yard skip is all you’ll really need.
As a side note, make sure that you know what goes in your skip, too – as there are some items we can’t accept!
Here are the kitchen goods you can put in your skip:
- Fittings (non-electrical)
- Gas cookers
- Wooden kitchen cabinetry
- Bricks
- Building rubble
- Furniture (such as kitchen chairs and tables)
- Domestic waste such as food and food packaging

And here’s what you can’t:
- Fridges and freezers
- TVs and TV screens
- Electrical fittings
- Electrical equipment and appliances (WEEE)
- Paint or paint tins
- Plasterboard
- Liquids
- Air conditioning units
Where to get started
Before you do anything, it’s absolutely vital that all of your utilities – gas, water and electricity – are turned off. That doesn’t mean turning off the taps and switching off the lights; we mean properly off, disconnected! Otherwise, it can be very expensive at the very best, and (more likely) awfully dangerous at worst. You can’t turn off your utilities yourself – you’ll need to get help from a qualified professional.
- For your water, you can click here to find a local accredited plumber
- For your electricity, you can click here to find a local accredited electrician
- As for your gas, the professional who performs this work needs to be accredited with the Gas Safe Register. Click here to search it!
Once all your utilities have been turned off – and only once they’ve been turned off – you can begin work on removing your kitchen. And obviously, you’ll need somewhere to store your waste, so make sure your skip has arrived and is close at hand!
Quick tips to removing appliances and sinks
First of all, when you’re moving any items that contain water (for example, your dishwasher), ensure that you’re keeping them upright to avoid the chance of any spillages. They connect to your utilities through two or three hoses. You’ll be able to recognise them by their colour; there’s hot, cold and outgoing waste (red, blue and grey). Since they’re so heavy, it’s worth having someone else around to help you take the weight. Stay safe!
As for removing the fittings of your hob, cooker and extractor, we’d always recommend consulting the manufacturer’s manual. If you’ve not got that to hand, check the website instead, and don’t forge on unless you know exactly what you’re doing. It’s not worth the risk. Decide ahead of time whether you’re going to dispose of them through skip hire, or if they’re not suitable, whether it’s worth selling them on to a new owner.
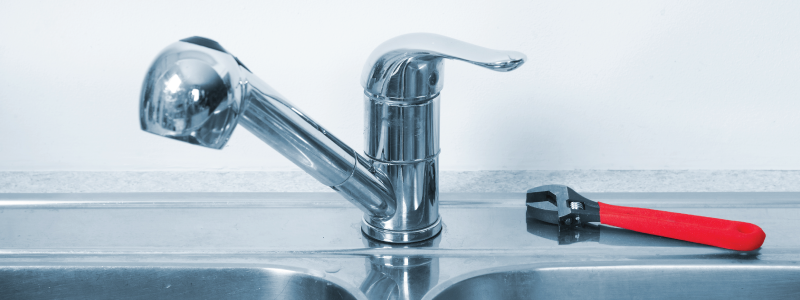
As for sinks, you’ll be pleased to hear that a standard-sized sink doesn’t take too much effort to remove. You’ll need to disconnect its waste connections, though, and ensure that the mains supply is off. (As if we haven’t mentioned that enough already!) There will also be the undermount fixings and the watertight sealant around the underside to deal with, too, so check underneath it before you try and wrench it away from the wall. The sealant can be cut away, but make sure to wear highly protective gloves, and take your time. That way you can both minimise the damage to the sink, and reduce the risk of injuring yourself.
Removing work surfaces
Most kitchen worktops have easily-visible fittings on the underside, so it’s just a matter of undoing these fittings so that it comes free. The joins you’ll find may well have a bolted or mitred point, so make sure you undo those as well. Now, if you’ve got a ‘waterfall effect’ where your tiled splashbacks run down onto the top side of your worktops, be prepared to have to remove the bottom row in order to properly remove your worktop. The worktop itself will, of course, be incredibly heavy, so we’d seriously advise against trying to remove it completely solo. It’s best as at least a two-man job.
Taking off the drawers and doors
The good news here is that almost all modern cabinets have a release clip, which makes it a quick and simple task to remove their doors without having to undo the hinges too. If you find that your kitchen cabinetry doesn’t have these clips – which is fair enough, as not everyone does! – then the traditional method of unscrewing them doesn’t take ages either.
Meanwhile, your kitchen drawers can be removed simply by pulling them up to release them from the runners. (It’s so easy that many of us can sometimes find we’ve done it accidentally in our day-to-day lives, just before we spend the next ten minutes trying to get the blooming things back in again.) Drawers also have a retaining clip that needs to be released to get it to properly disengage, and then that should be the job done.
Taking out your kitchen cabinetry
You’ll find that your cabinetry is usually affixed to the wall with brackets. The base units – those at waist level – will have simple fixing points through the back wall, though their legs underneath will be the bits taking all the weight. Units that are adjacent to each other will probably have affixing screws attaching them to each other, too, so if you can’t work out why one of them isn’t coming out, that might be the place to start!
The wall units higher up, meanwhile, will have substantial brackets underneath supporting them. Loosen the screws at the back on each side, then just lift it up off its brackets. Be careful – it might well be heavier than you think! Once again, make sure that all the affixing screws between each cabinet are removed.
Now that your skip is filled…
So, that’s all there is to it! Wasn’t so hard, right? All that’s left is for our guys here at Skip Hire Network to come and pick up your skip, shipping away most of your domestic waste in one fell swoop. Once we’ve got your skip safely in our possession, we’ll be sure to responsibly process the contents, so that as much of it is re-used or recycled as possible. That’s just one of the awesome benefits of choosing Skip Hire Network – you can read about some other great reasons to choose us here, or if you’re all ready to get started you can go straight to our homepage and enter in a couple of details for an instant skip hire quote!